TABLE OF CONTENTS
Overview
A step-by-step guide to replacing the upper PCB.
Tools required
- 3 mm hex key
Replacement parts required
- Kit, Cockpit cover w/PCBA and HDWR (000-7977)
Procedure
- Unplug the power cord from the wall outlet.

- Unplug the power cord from the bike at the front of the rear stabilizer.
- Remove the 4 screws under the phone holder.
- Use the 3 mm hex key to remove the 4 screws pictured below:

TIP: It is difficult to remove the screws closest to the handlebars. You might need to use the short end of the hex key.
- Save these screws for later.
- Use the 3 mm hex key to remove the 4 screws pictured below:
- Remove the phone holder.
- Remove the 2-wire connector by gently pulling the connector from the receiver on the board.

- Use the 3 mm hex key to remove the 2 bolts holding the phone holder in place.

- Gently slide the phone holder connector through the hole of the plastic base; set aside for later.

- Remove the 2-wire connector by gently pulling the connector from the receiver on the board.
- Remove connectors from the existing plastic base.
- Pull on the connectors to remove them from the receivers.

- Pull on the connectors to remove them from the receivers.
- Attach the existing phone holder to the new plastic base.
- Thread the connector through the new plastic base and use the existing silver screws to attach the existing phone holder to the new base.

- Thread the connector through the new plastic base and use the existing silver screws to attach the existing phone holder to the new base.
- Connect all 3 connectors to the new plastic base.
- Pay attention to the tabs on the connectors, which align with openings on the receivers.

- Pay attention to the tabs on the connectors, which align with openings on the receivers.
- Install the new assembly onto the bike.
- Use the existing black screws to connect the new phone holder assembly to the bike.

- Use the existing black screws to connect the new phone holder assembly to the bike.
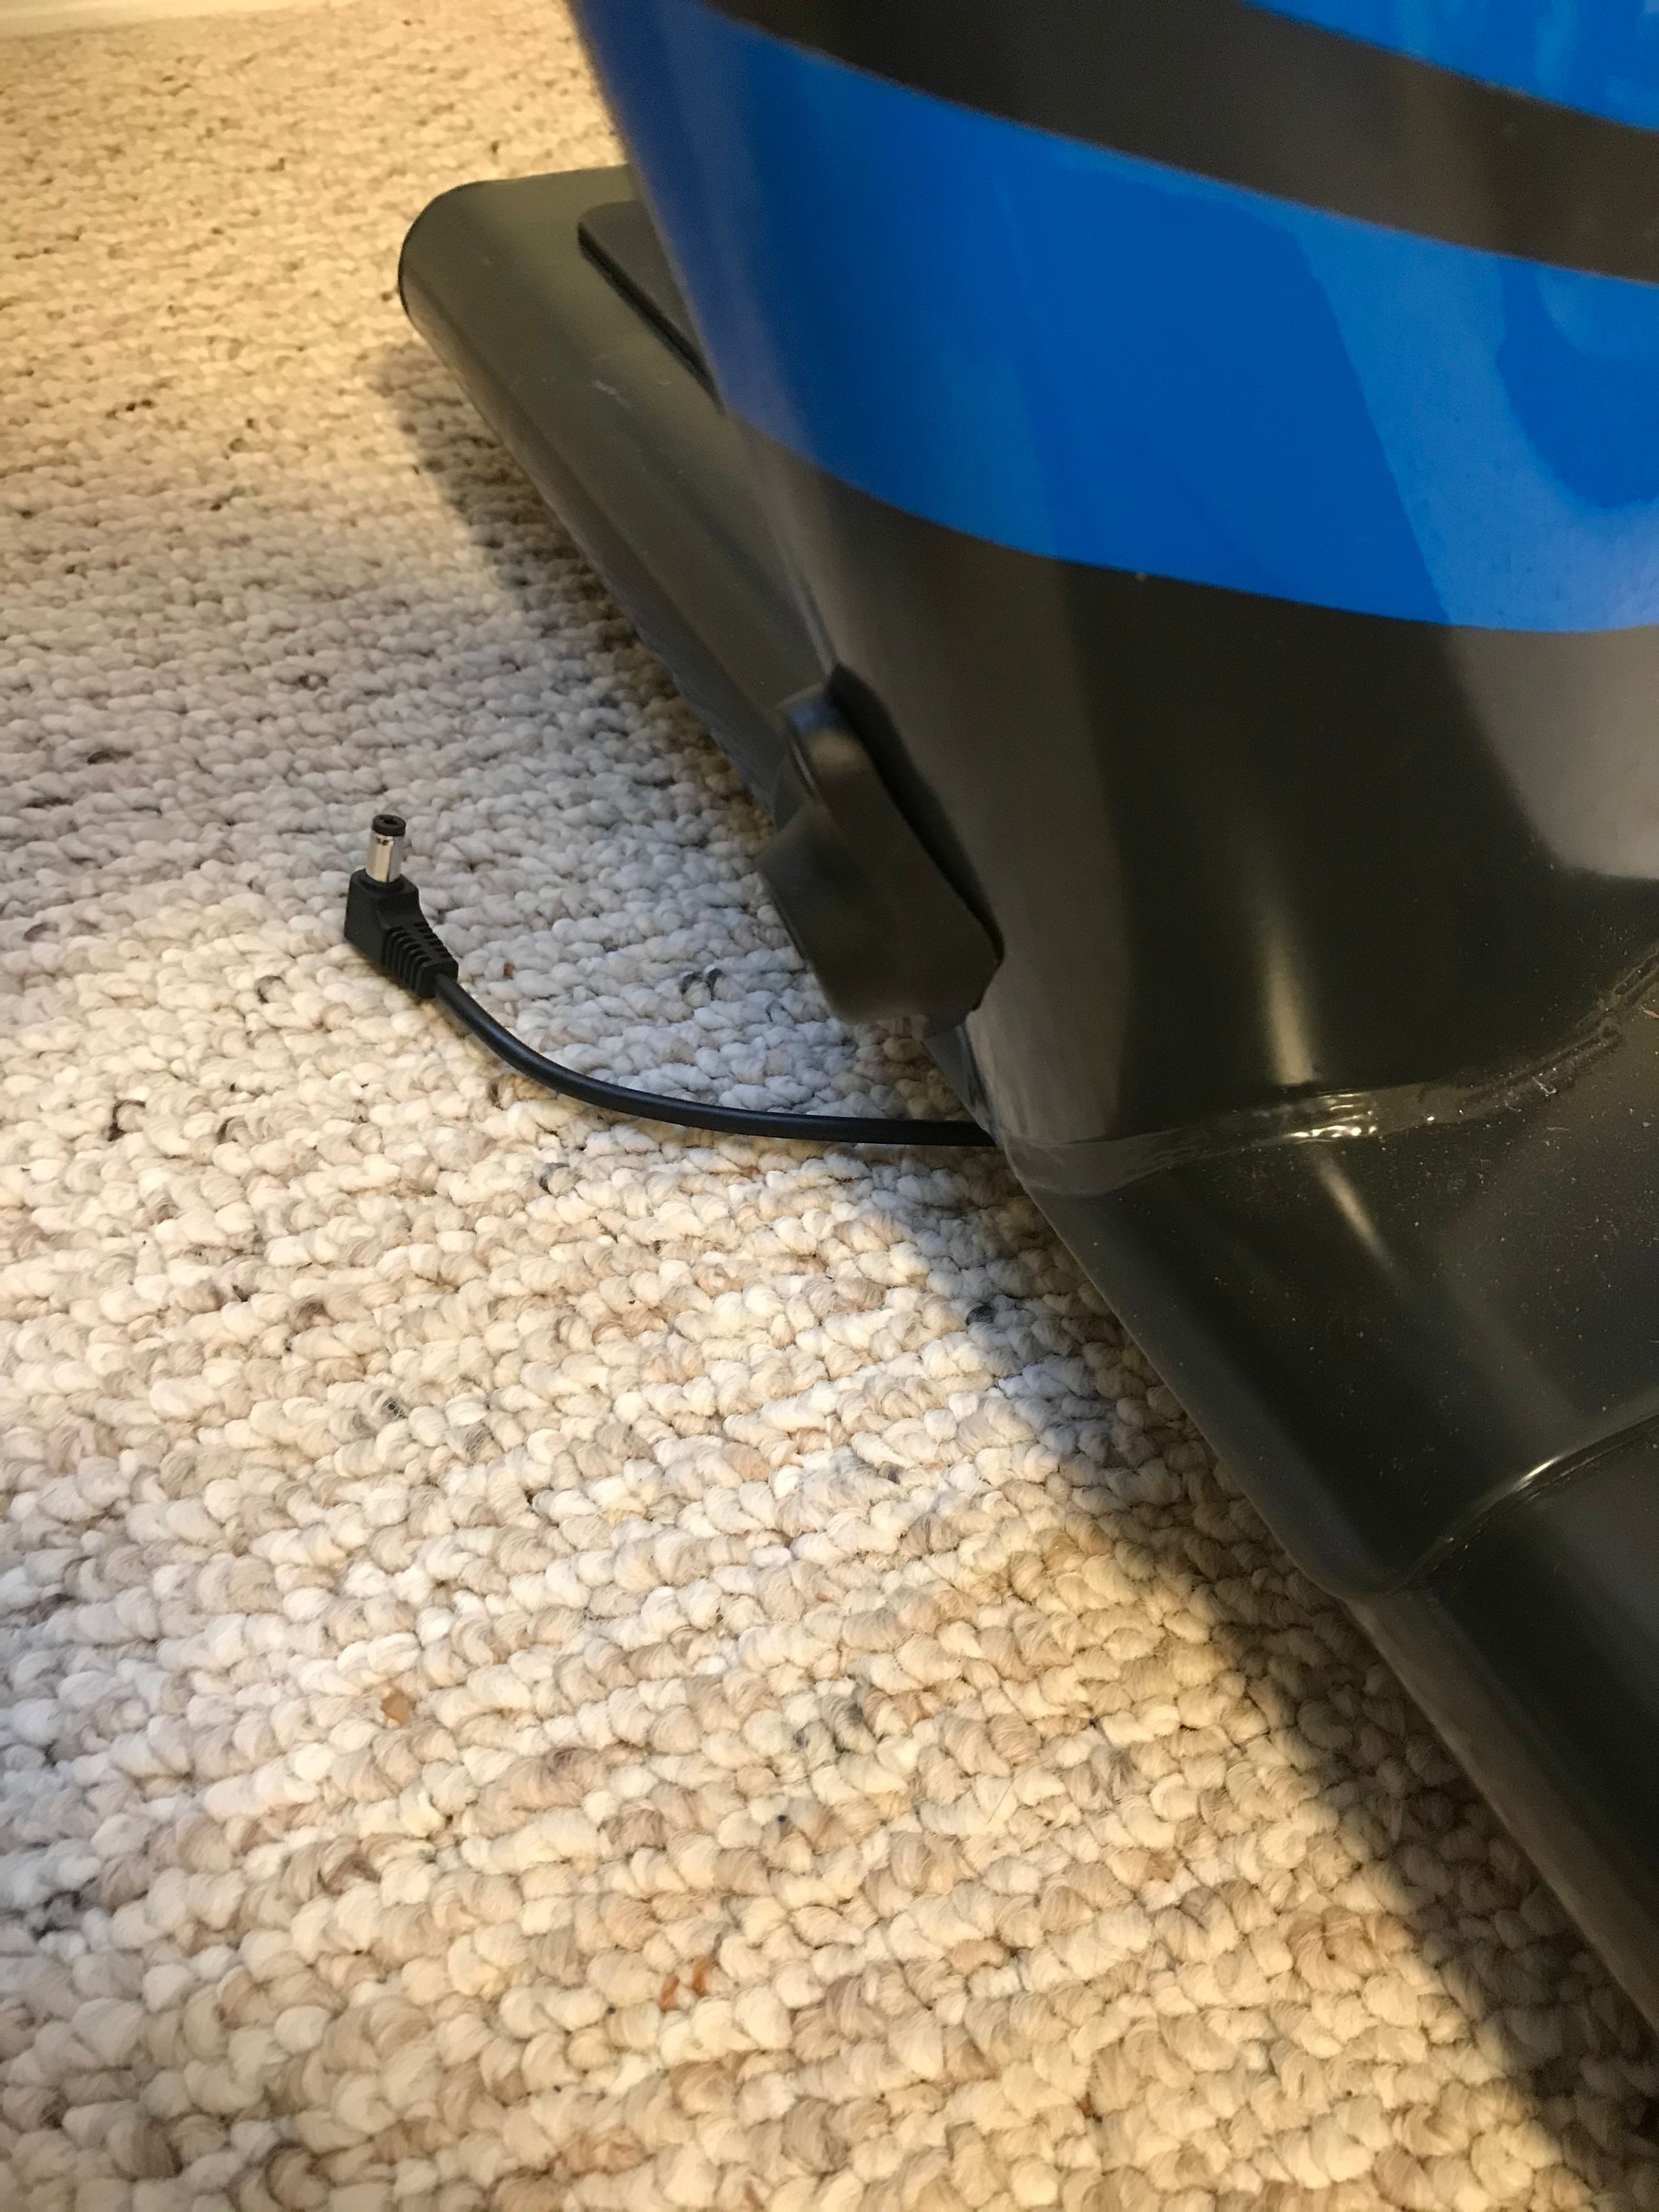
Plug in your Power Supply Unit
WARNING: To ensure that the power is properly supplied to the bike, adhere to the following order of plugging in the bike.
1. Plug the power cord into the bike at the front of the rear stabilizer.
 2. Plug the power cord into the wall outlet.
Program your new Upper PCB (using our diagnostics app, ATE, using an iOS device)
After installing the Upper PCB, you will need to contact our support team to assist with reprogramming the bike. Click here or email support@stagescycling.com
Was this article helpful?
That’s Great!
Thank you for your feedback
Sorry! We couldn't be helpful
Thank you for your feedback
Feedback sent
We appreciate your effort and will try to fix the article